DIY Silent Compressor
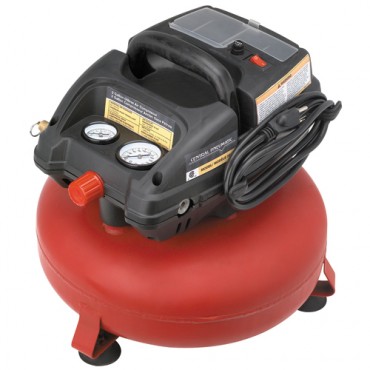
I've had a 3 gallon pancake style tank sitting in my garage for about a year or so now after purchasing my SilentAire 20A. The tank was from a Harbor Freight 3 gallon 100psi oil-less compressor. The original configuration of the compressor was VERY loud and refilled constantly during use with only a 15psi differential between the cut-in and cut-out pressure.
The donor compressor didn't have much to offer for parts other than the main tank, power cord, safety valve, and gauges. I had to cut off the 2 risers for the original handle and plug the 2 smaller 1/8" bungs on the top of the tank for the original air input and pressure switch as I would not be using those.
I picked up an older model R12 Refrigerator Compressor from a local appliance repair/sales yard for $25. The compressor came with the relay and harness. Make sure if you plan on purchasing a used compressor that it comes with the relays and harness, they are quite expensive on their own.
A couple dry fits on the top of the compressor and a trip to Ace Hardware got me everything needed to mount the compressor to the tank. I picked up some mounting grommets with inserts that fit in the feet of the compressor motor along with matching bolts, washers and nuts. I mounted all four feet and then welded the bolts to the top of the tank with my mig welder. This gave me a nice clean mounting solution for the heavy compressor motor, and the rubber grommets provide vibration isolation.
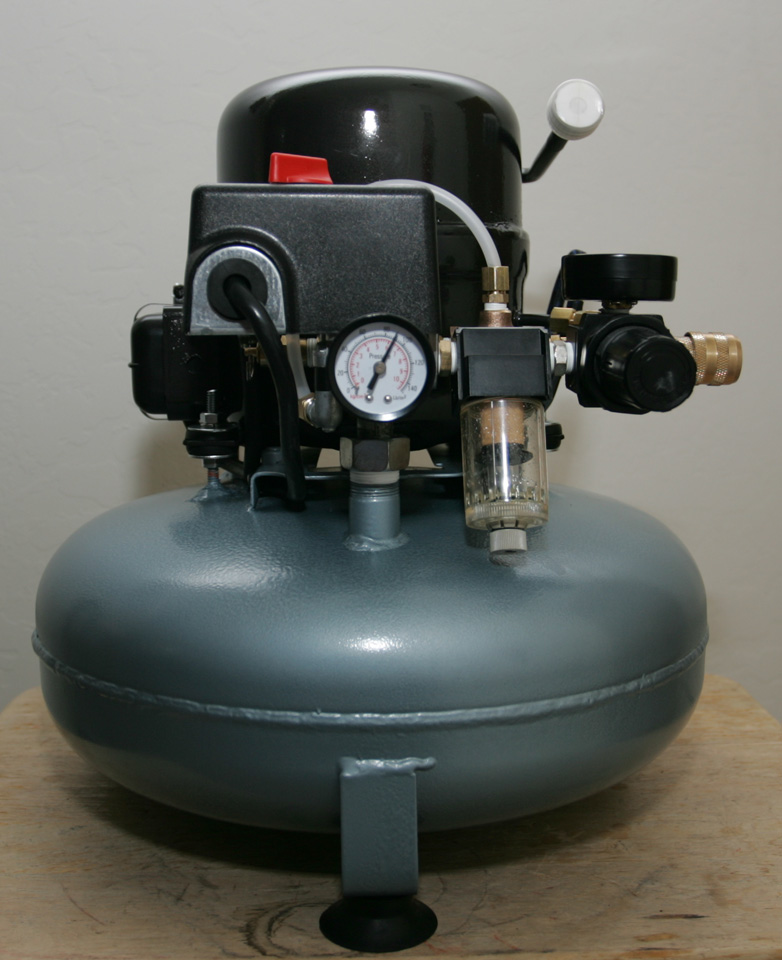
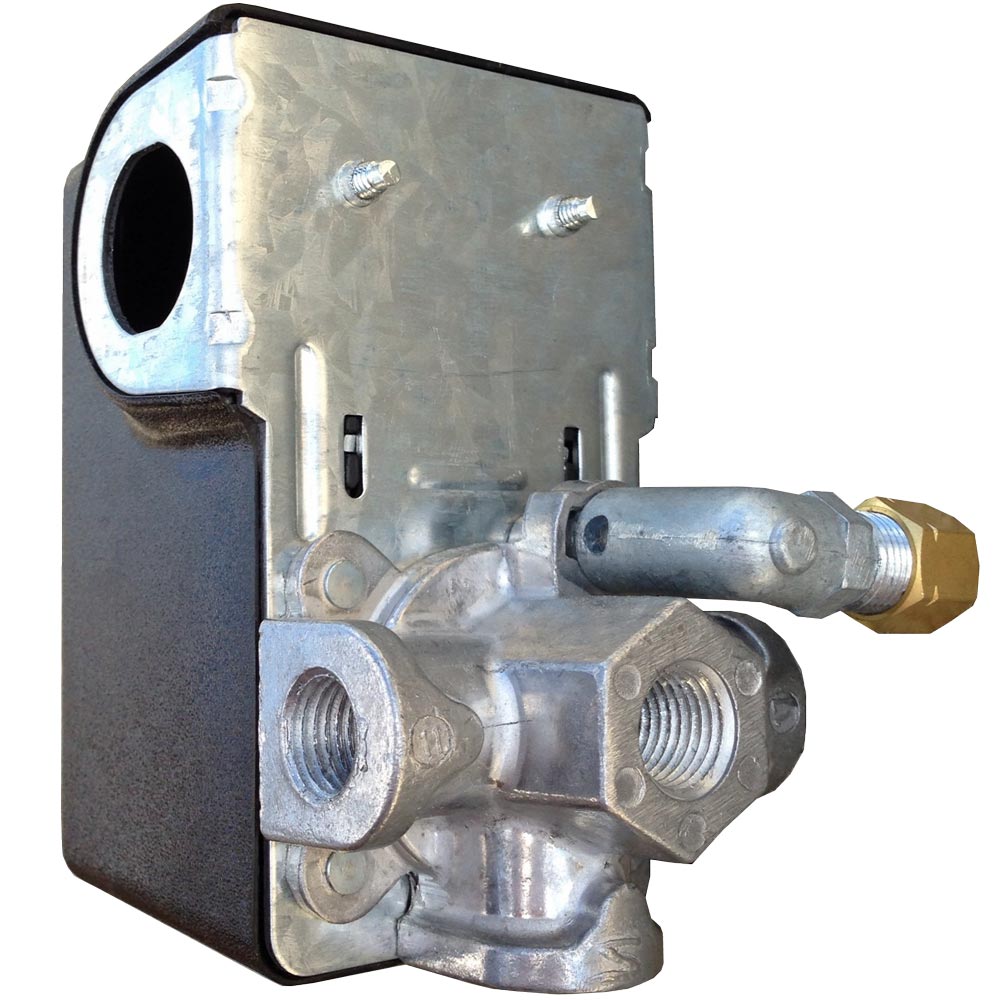
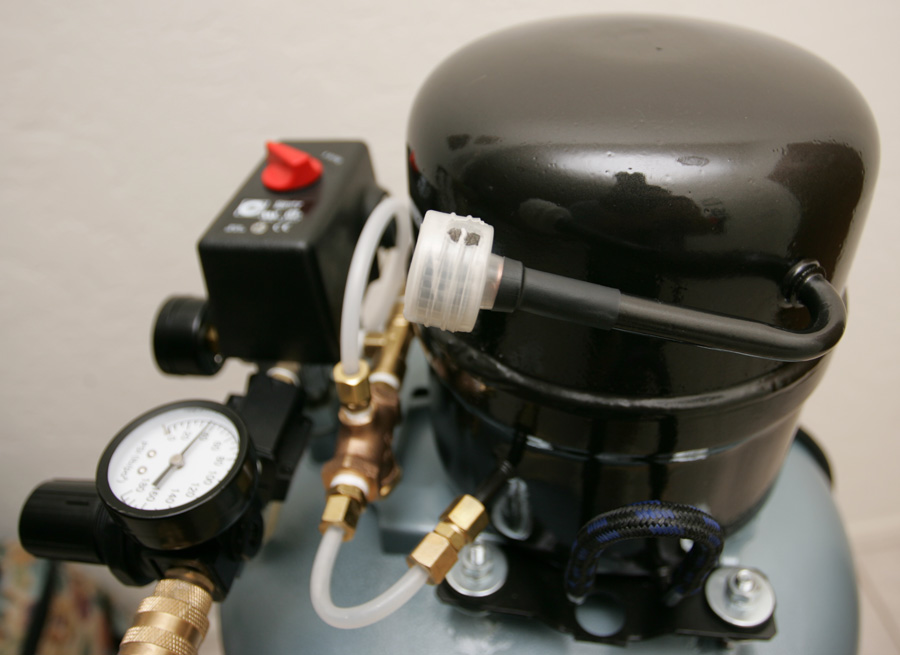
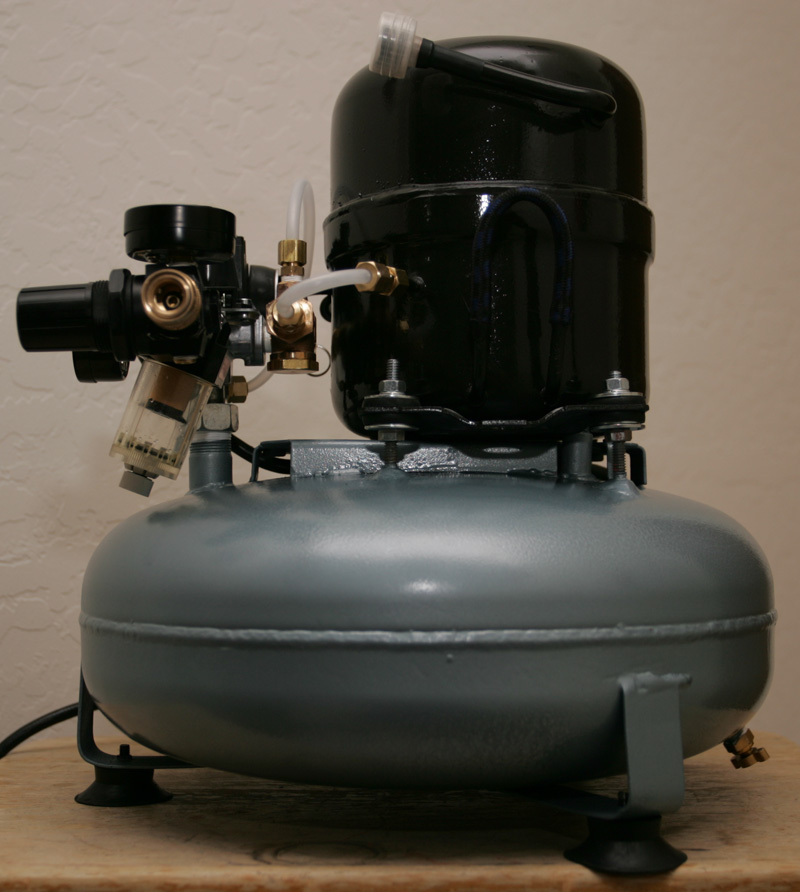
I mounted all the air fittings and plumbing as compact and serviceable as possible. The entire plumbing and electrical switch come off with one fitting without having to take off any of the individual components to service anything. I used a Condor MDR-11 4-port Pressure switch with unloader, one-way check valve from Grainger, Husky water trap and regulator, handful of fittings from Ace Hardware, and a roll of Teflon tape. The tank pressure gauge is mounted to one of the ports on the switch with a 1/4" to 1/8" fitting. Water trap, Regulator and quick release on another port, all coupled together with 1/4" male/male fittings. The 115psi safety pop-off is mounted to one side of a 1/4" T fitting in the remaining port of the switch. The other side of the T fitting goes to the one-way check valve with a 1/4" male/male fitting. The check valve has a 1/8" unloader hook-up on it connected to the unloader on the pressure switch with 140psi nylon tubing, and a compression fitting. The other side of the on-way check valve is connected to the output of the compressor motor with a couple of compression fittings and more 140psi nylon tubing.
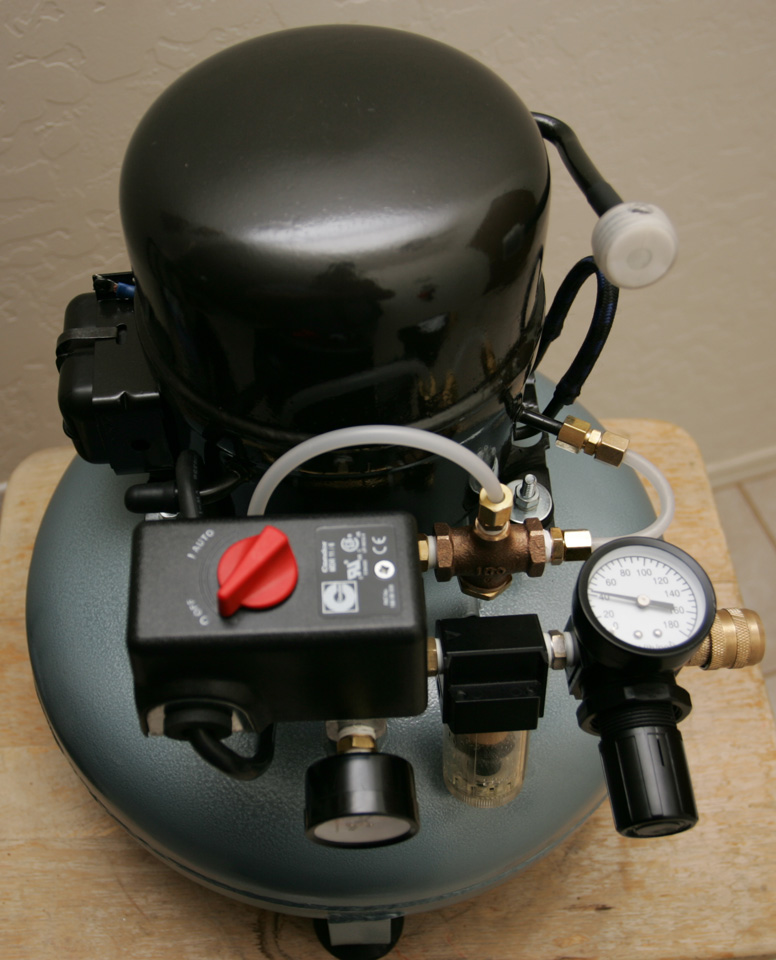
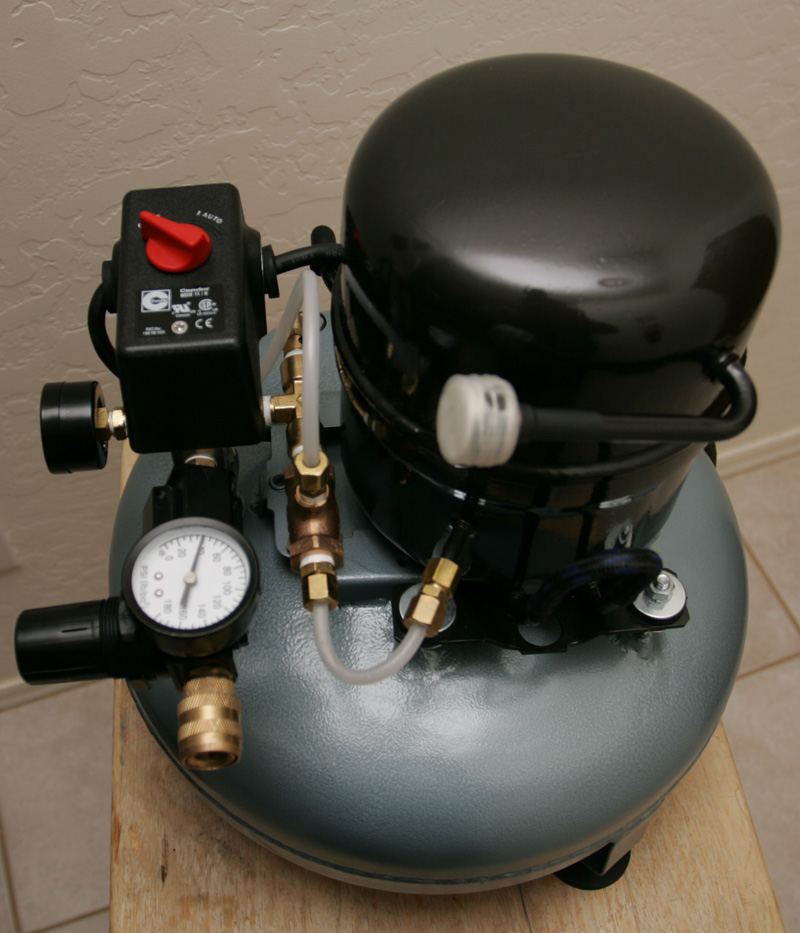
Some pictures of the final compressor:

The pressure switch is has 20-105 psi adjustment range with 20-45 psi adjustable differential and 26 Amp capacity with 4 1/4" ports and unloader valve made by Condor, model MDR-11.
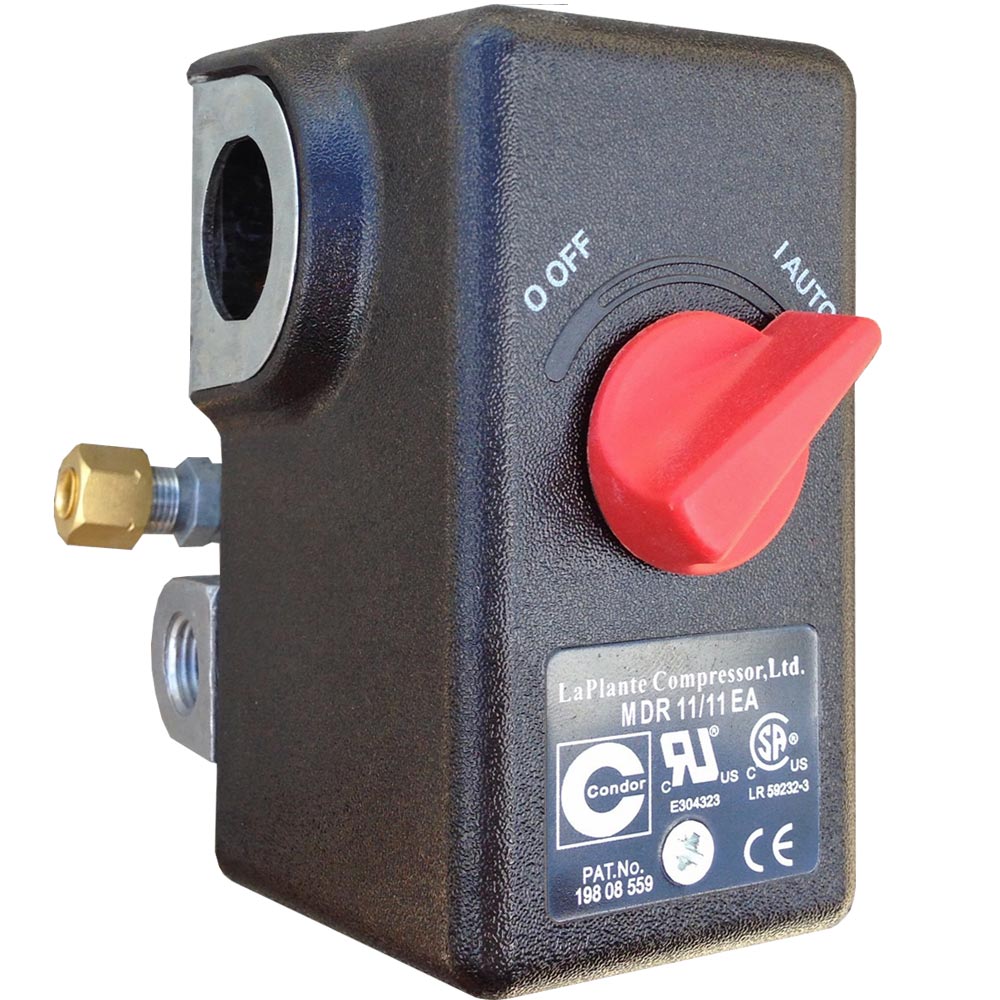
The unloader valve is needed with these smaller compressor motors when trying to start them under high pressure. With the 50psi cut-in setting I'm using, I could get away with not using an unloader as the compressor will restart just fine at that pressure, but the unloader keeps the stress of that initial start up pressure from harming the compressor at all.
All air fitting connections were teflon taped to help with any leaks. Make sure to use nylon compression fitting inserts with nylon tubing. I made the mistake of using the brass inserts on the first mock up and had leaks everywhere as the brass fittings cut into the nylon tube. Replaced with the nylon inserts and all lines are leak free and solid.
I had to "tune" the one-way check valve from its original configuration. During the mock up when I fired up the compressor for the first time with the check valve inline the check valve was making more noise than the compressor motor itself! There is a nylon block in the valve on a lightweight spring that opens on positive pressure from the input and closes when there is no more front pressure. The problem was the spring was just a little to heavy for this small compressor motor and made a constant slapping noise, almost like a fart, and was 2-3 times louder than the compressor motor. I ended up trimming 2 coils off the spring to lighten it up and its quiet as can be now, but still functions to hold back all the pressure from the tank.
I made a simple and small air filter for the input line much like the filter on my SilentAire 20A. I took a "Yorker" cap from a squeeze bottle and cut the nozzle down until it fit over the input tube on the compressor motor, and drilled a breather hole on the side of the cap. I found a cap from something in my junk drawer that fit over that yorker cap to make it enclosed, and also drilled a matching breather hole in that. I filled the newly made "filter" with stacked filter material from an Air Conditioning filter and pre-filters from an old 3M respirator. Stacked alternating with AC Filter, 3M filter, AC, 3M etc until the cartridge was full.
The new compressor specs are:
- 1/3 HP Motor
- 115psi Max.
- 3 Gallon tank
- Weight 38.5 lbs
- 35db Noise Level
- Operating pressures 50-90 psi
- 40 psi differential, cut-in 50 psi, cut-out 90psi
- 4 min 30 sec empty to 90 psi
- 50 psi to 90 psi fill takes 2 min 30 sec
- Average airbrush consumption @ 100% air on time takes 5 min and 30 sec to drain to 50 psi from 90 psi
Here are some detail photos of the components on the compressor:
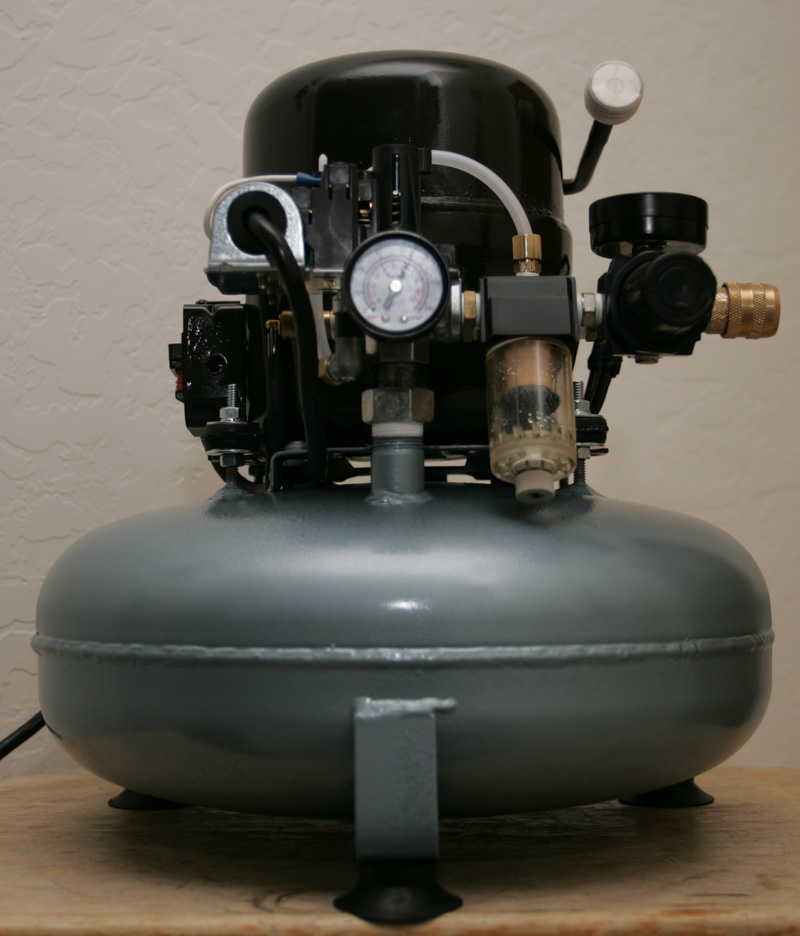


The new compressor is very quiet and works great. Couple coats of Hammerite Slate Blue and Black to give it some color.
Total cost if built from scratch with new parts other than the compressor motor would be about $160-$175, much less if you already have most of the components on hand or purchase parts used. This size compressor runs for about $500-$800 if purchased from a dealer, so there is a significant savings by doing it yourself.
Video Demonstrations & Audio Benchmarks
Update The decibel level specified directly within the audio narration of the first video clip is outdated due to an uncalibrated meter during initial filming. Subsequent bench tests performed at 1 meter with a fully calibrated SPL meter confirm the operational threshold rests natively between 35-36 dB.
A Video of the compressor running to hear noise levels:
Side-by-side benchmarking video including the subsequent DIY Mini Compressor build:
Grainger Part Numbers:
- Check Valve: 5X780
- Pressure Switch: 3EYP2
I get a lot of requests for part numbers, I can only give you the part numbers I used from Grainger, I can't help you with some other company in your country, or alternatives etc. If you have any questions or comments, please feel free to contact me.